So I am deploying lot of containers and downloading a lot of “linux ISOs” in my RaspberryPi. But the memory card in it wont be neither sufficient nor faster for most of the use cases.
You could add an usb drive and mount it every time you boot the device up. But there must be some way to auto mount the external devices automatically at the boot right. So yeah there is a way to automatically mount the usb device and iam going to log the steps to add the usb device on boot in my RaspberryPi.
Mount the usb drive:
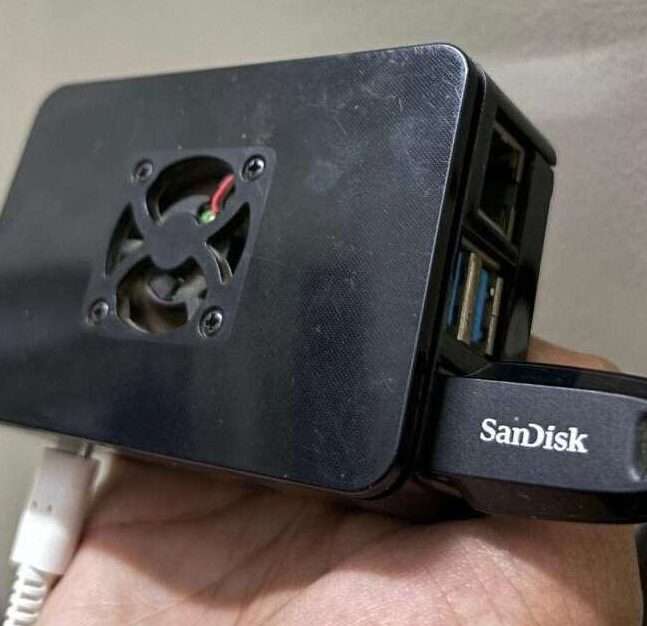
Push the usb drive into the slots available in the raspberrypi. Note that there are 2 x usb2.0 and 2 x usb3.0 slots in raspberrypi4 and also if you change the slot the usb drive is plugged in then you need to reconfigure again to make it boot properly.
Now to check if the drive is recognized by the raspberry pi is to run the command:
sudo cat /proc/mountsThis command shows all the mount paths. They also contain virtual volume mount paths. As i have multiple virtual volumes that are mounted it is shown in insane amounts. Not everyone gets the same as mine:

Also you can use this command to see the current mounted location and the status of the external devices:
df -h
ok now with the command now we choose the mount device as /dev/sda1. We are going to automount this device during the booting of the RaspberryPi.
Now we need some more information of the external device for configuring the auto mount. Like UUID and the type of drive. So to do that we use the command:
sudo blkid /dev/sda1By executing the command we get something like this:

Also to note that if the file drive is ntfs or exfat we need to install some external tools for the filesystem of the external drive to be supported by raspberrypi.
To install the tools use this command:
sudo apt install ntfs-3g
sudo apt install exfat-fuse
sudo apt install exfat-utils
Fstab:
Now the required information is gathered we can edit the fstab file which is used to automount the devices to the required folder.
To edit the fstab file use this command:
sudo nano /etc/fstabNow add the line of code to the end of file:
UUID=[UUID] [LOC] [TYPE] defaults,auto,users,rw,nofail,noatime 0 0Replace the [UUID] with the uuid of the device and [LOC] with the mount path where you want to auto mount the external device and [TYPE] with the type of filesystem the external drive uses.
now exit the file by pressing ctrl+x and y.
Now try rebooting the system by using the command:
sudo rebootIf it works congrats you have successfully configured to automount external devices.
Configuration:
There are many options to customise the automount option depending on the usecases. Like
defaults will give the user with read and write access to the device.
auto/noauto: controls whether the partition is mounted automatically on boot (or not).
exec/noexec: controls whether or not the partition can execute binaries. In the name of security, this is usually set to noexec.
ro/rw: controls read and write privileges – ro = read-only, where rw= read-write.
nouser/user: controls whether or not the user has mounting privileges. This defaults to noexec for all user accounts.
nofail will boot the raspberrypi even if it is unable to mount the device sucessfully This is important because if nofail is not enabled the device fails to bootup. I have did this mistake and had to reformat the SD card with a fresh os and start again.